Douglas Fir The Pine Family–Pinaceae
Pseudotsuga menziesii (Mirb.) Franco
(soo-doe-TSOO-guh men-ZEE-zee-i)
Names: Douglas Fir is named after naturalists, David Douglas and Archibald Menzies. The genus name, Pseudotsuga literally means “false hemlock.” It was once known as P. taxifolia (meaning yew-leaved).
Relationships: It is one of only five species in its genus. Three species from Asia and the other, Big Cone Douglas Fir, Pseudotsuga macrocarpa has a limited distribution in Southern California.

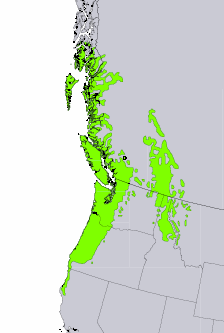
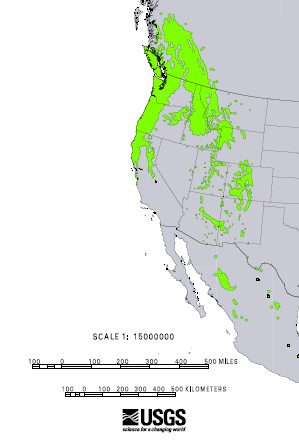
Distribution of Douglas Fir from USGS ( “Atlas of United States Trees” by Elbert L. Little, Jr. )
Distribution: Our Douglas Fir grows from sea level to subalpine mountain sites and has a large distribution from Western Canada down the Pacific coast to central California, and from the Canadian Rockies south to isolated communities in Mexico
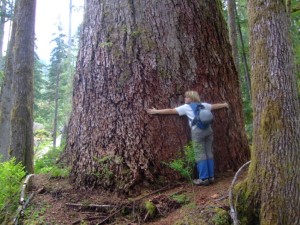
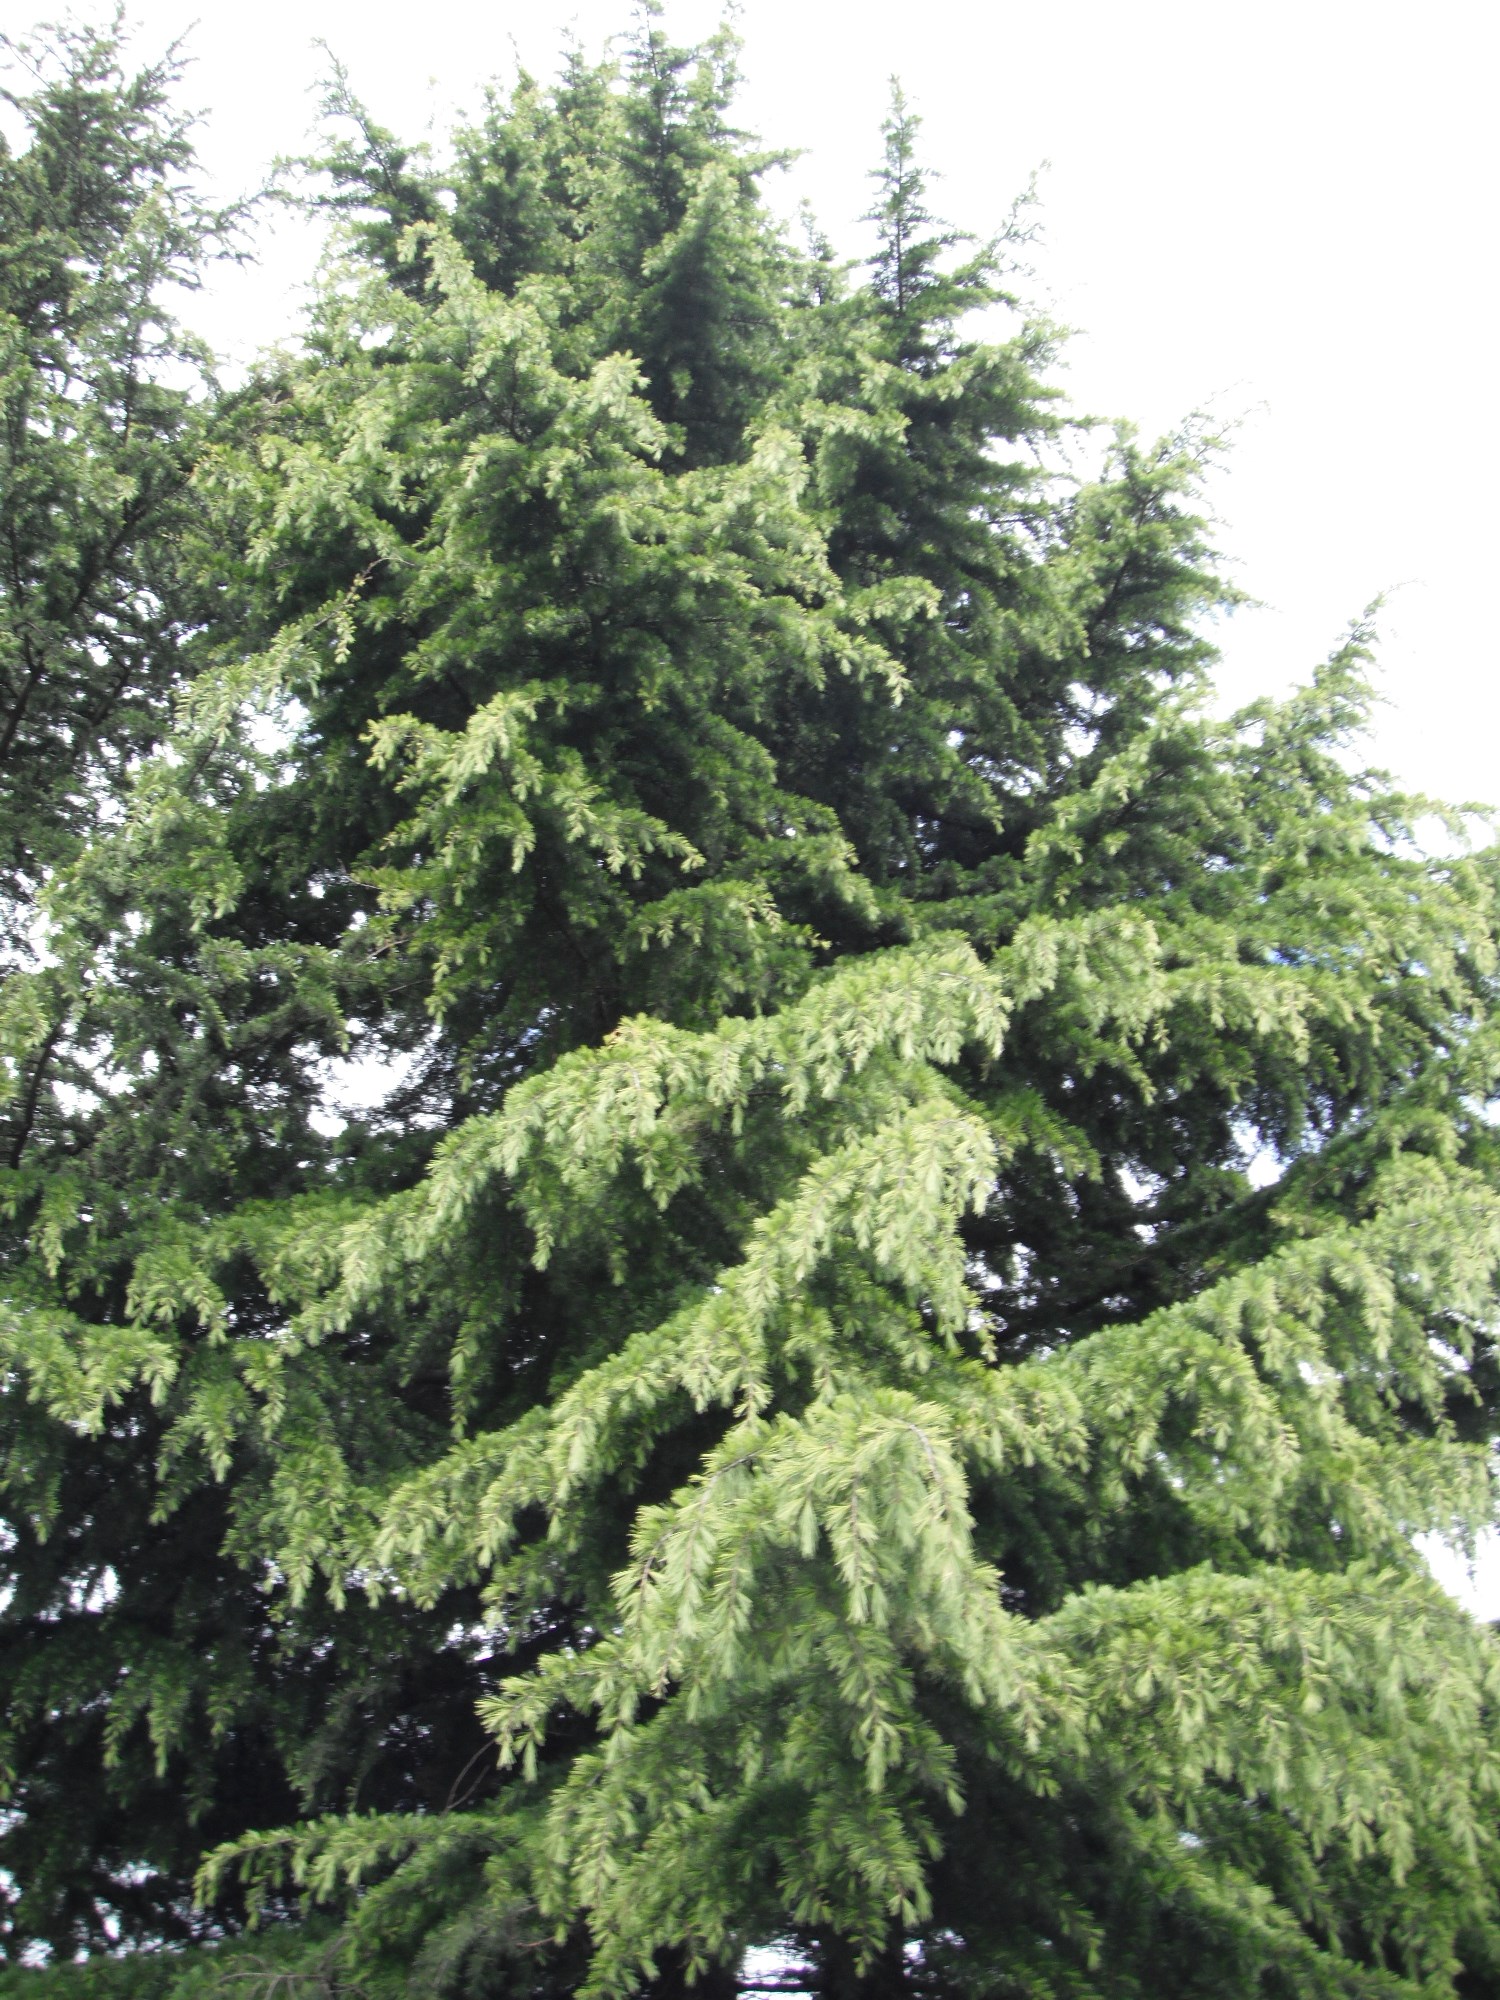
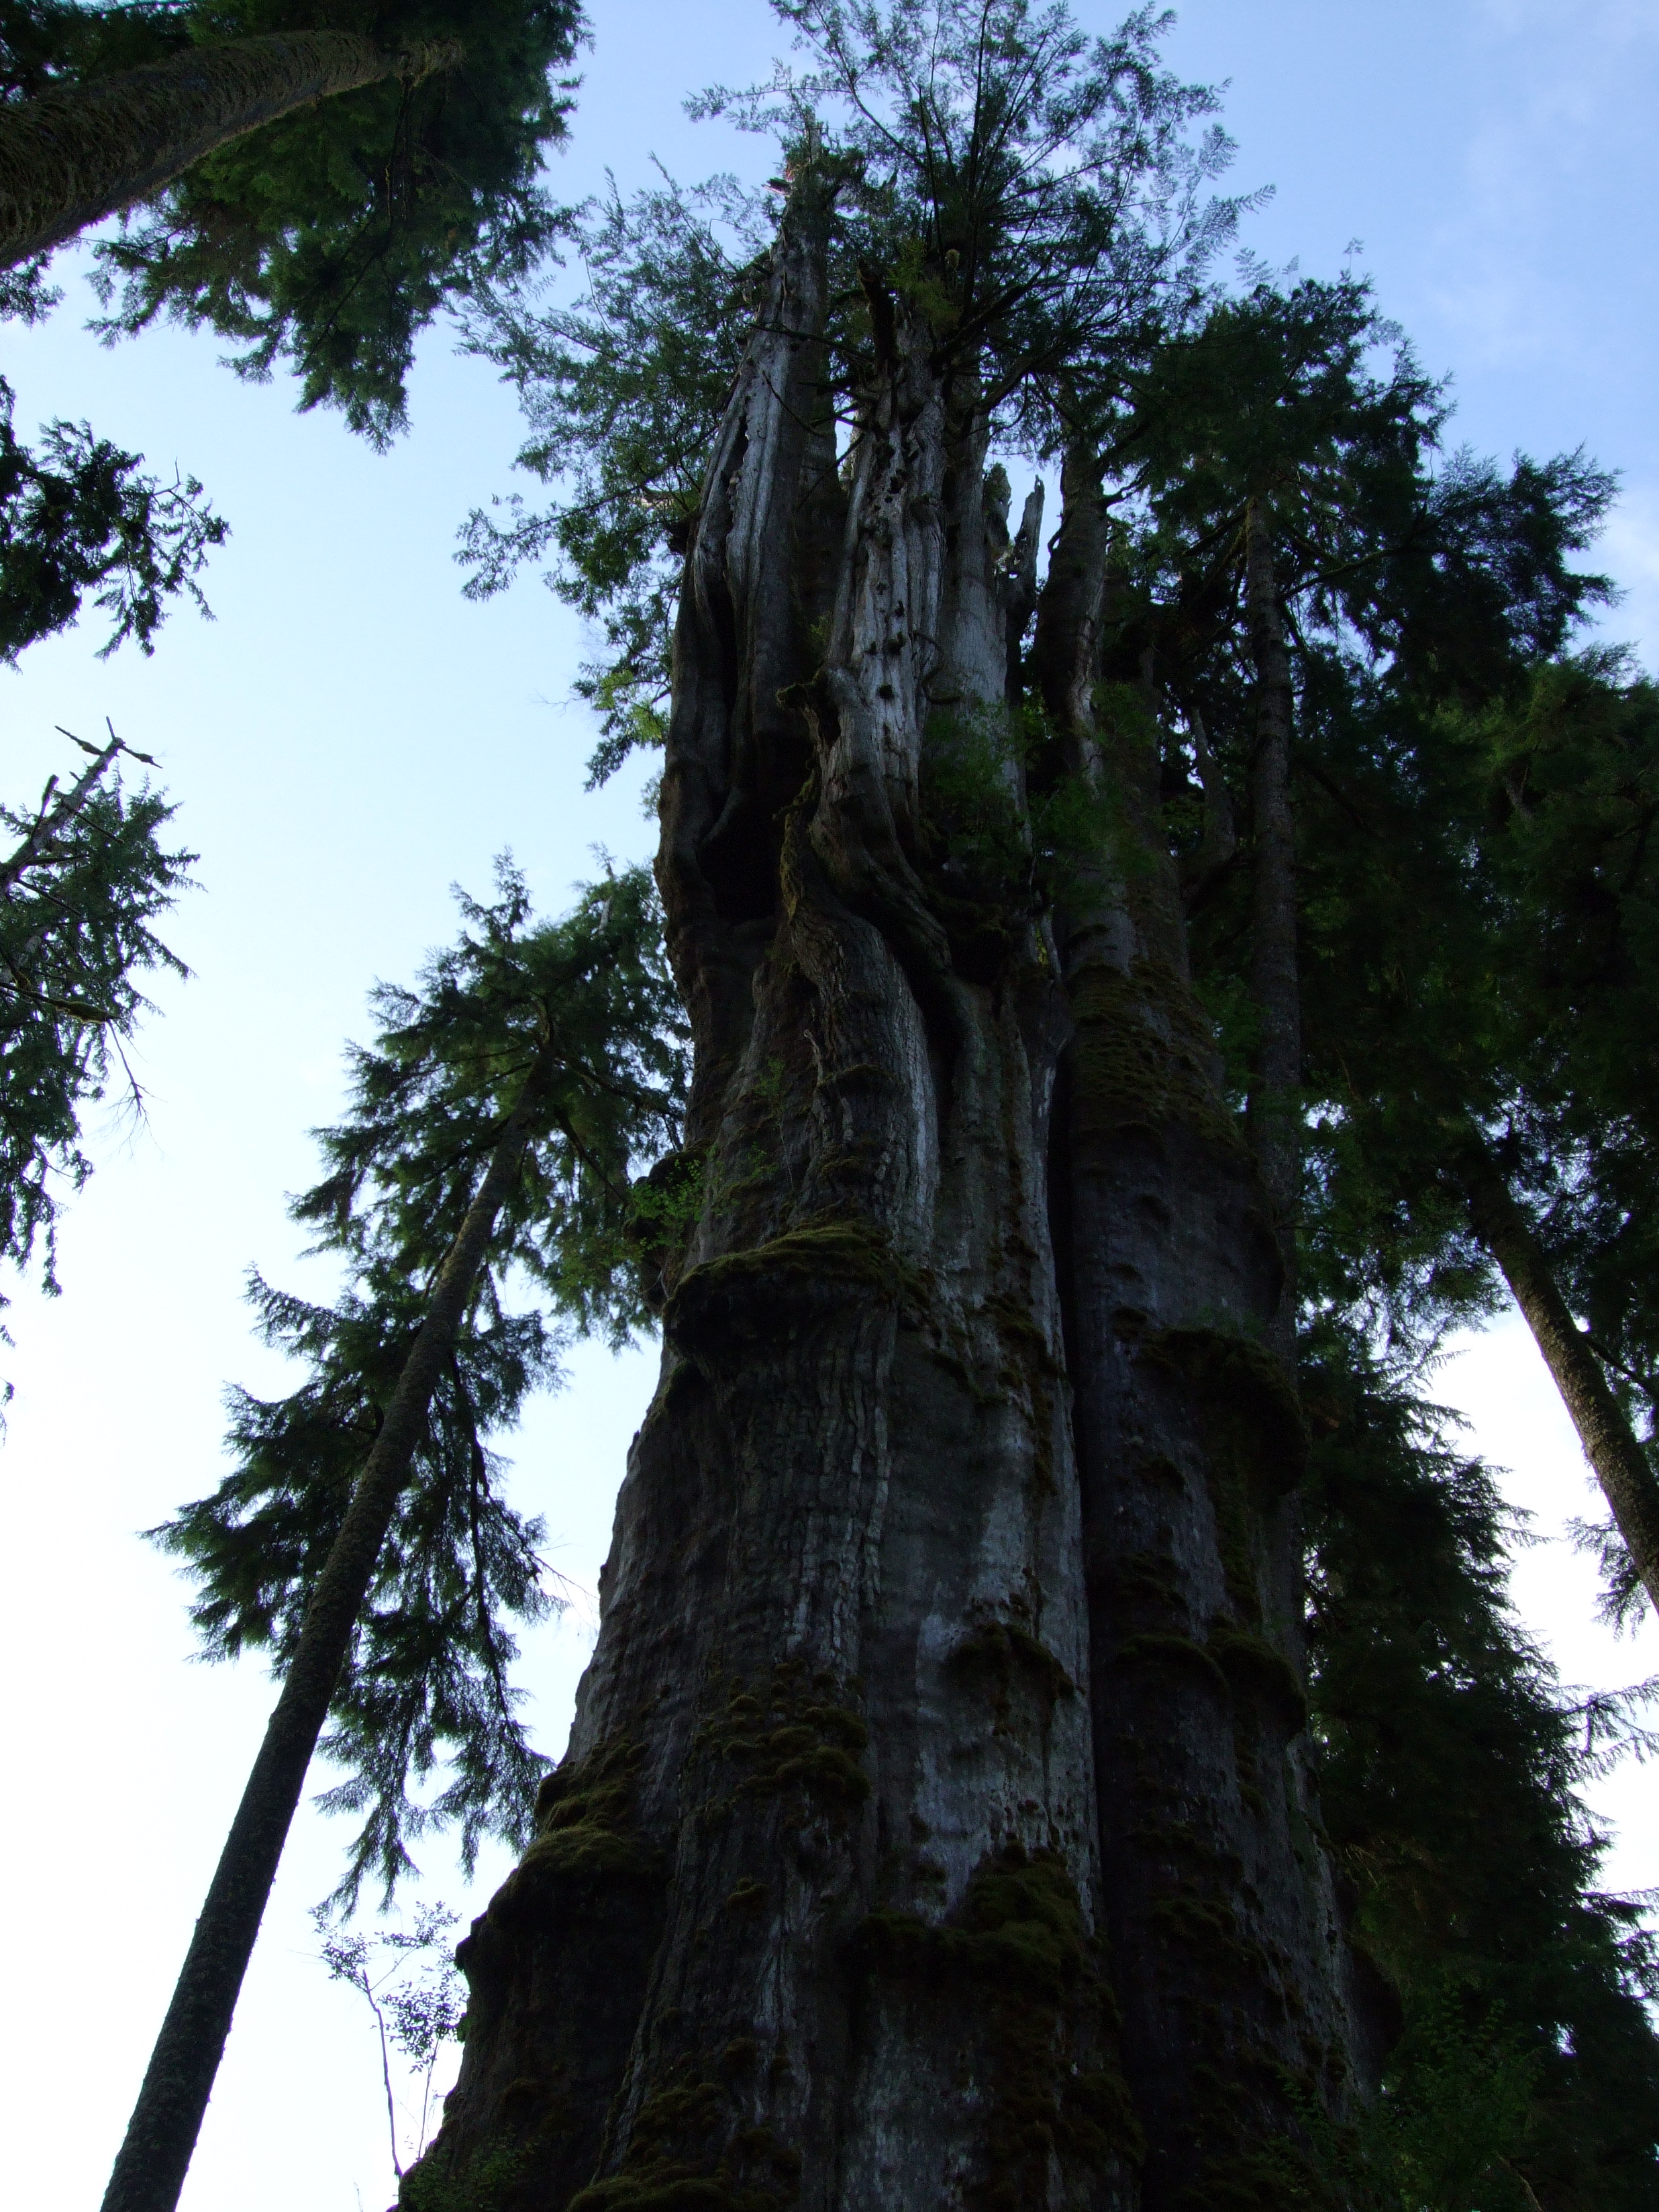
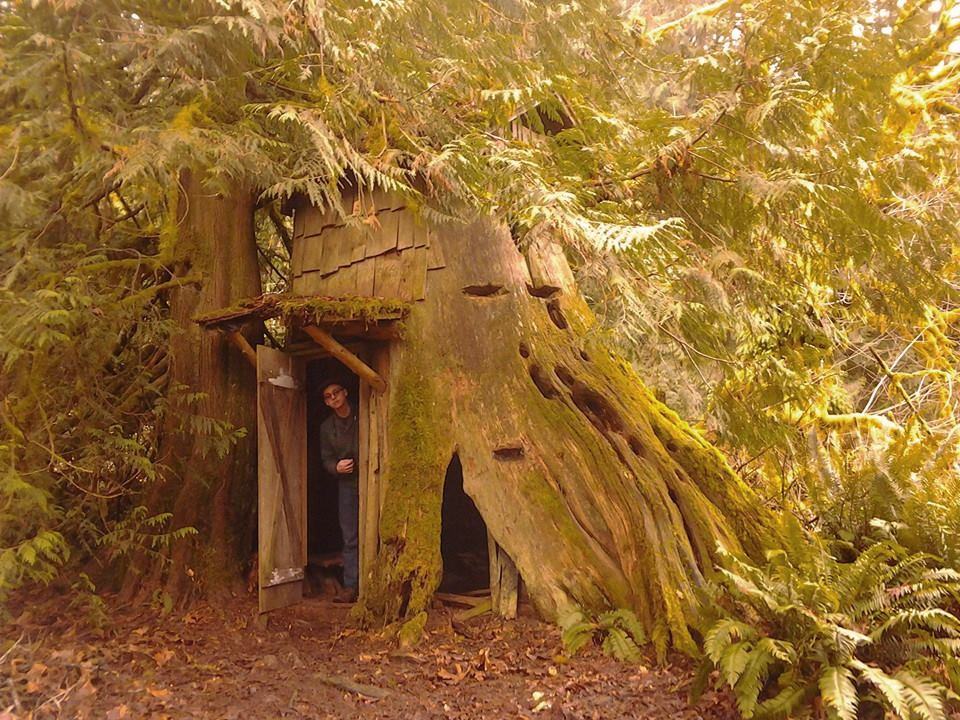
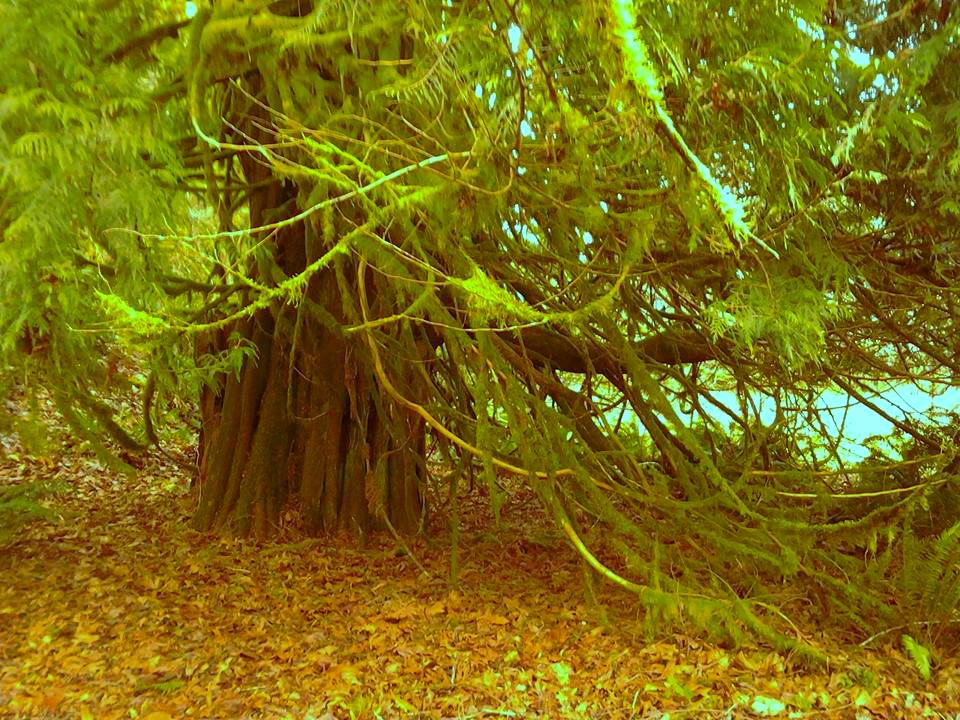
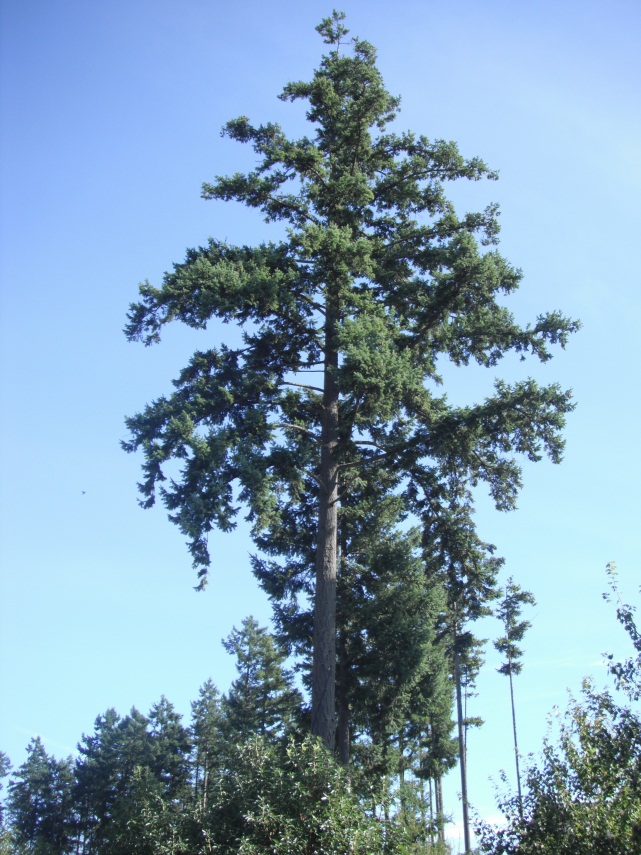
Old Growth Douglas Fir in the Olympic Rainforest
Growth: Douglas Fir grows rapidly, especially when young. It typically grows 200 to 240 feet (60-75m) tall. The tallest Douglas firs today are just over 300 feet (90m); historically Doug firs may have attained a height of 400 feet (120m); taller than today’s redwoods! In cultivation, they easily reach 40-80’ (12-24m)
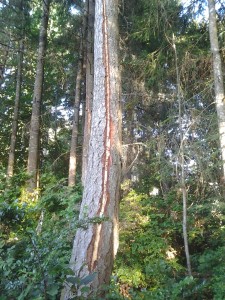
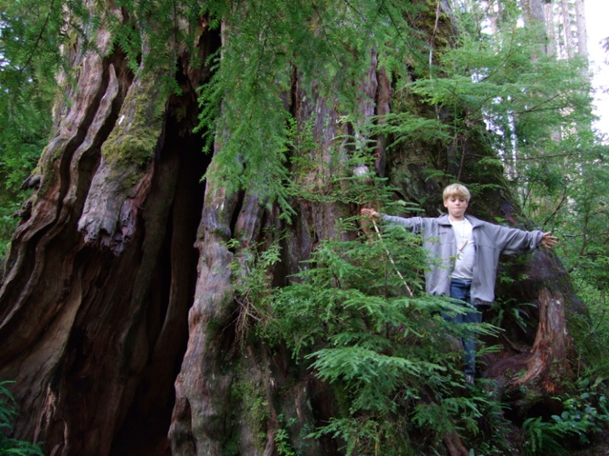
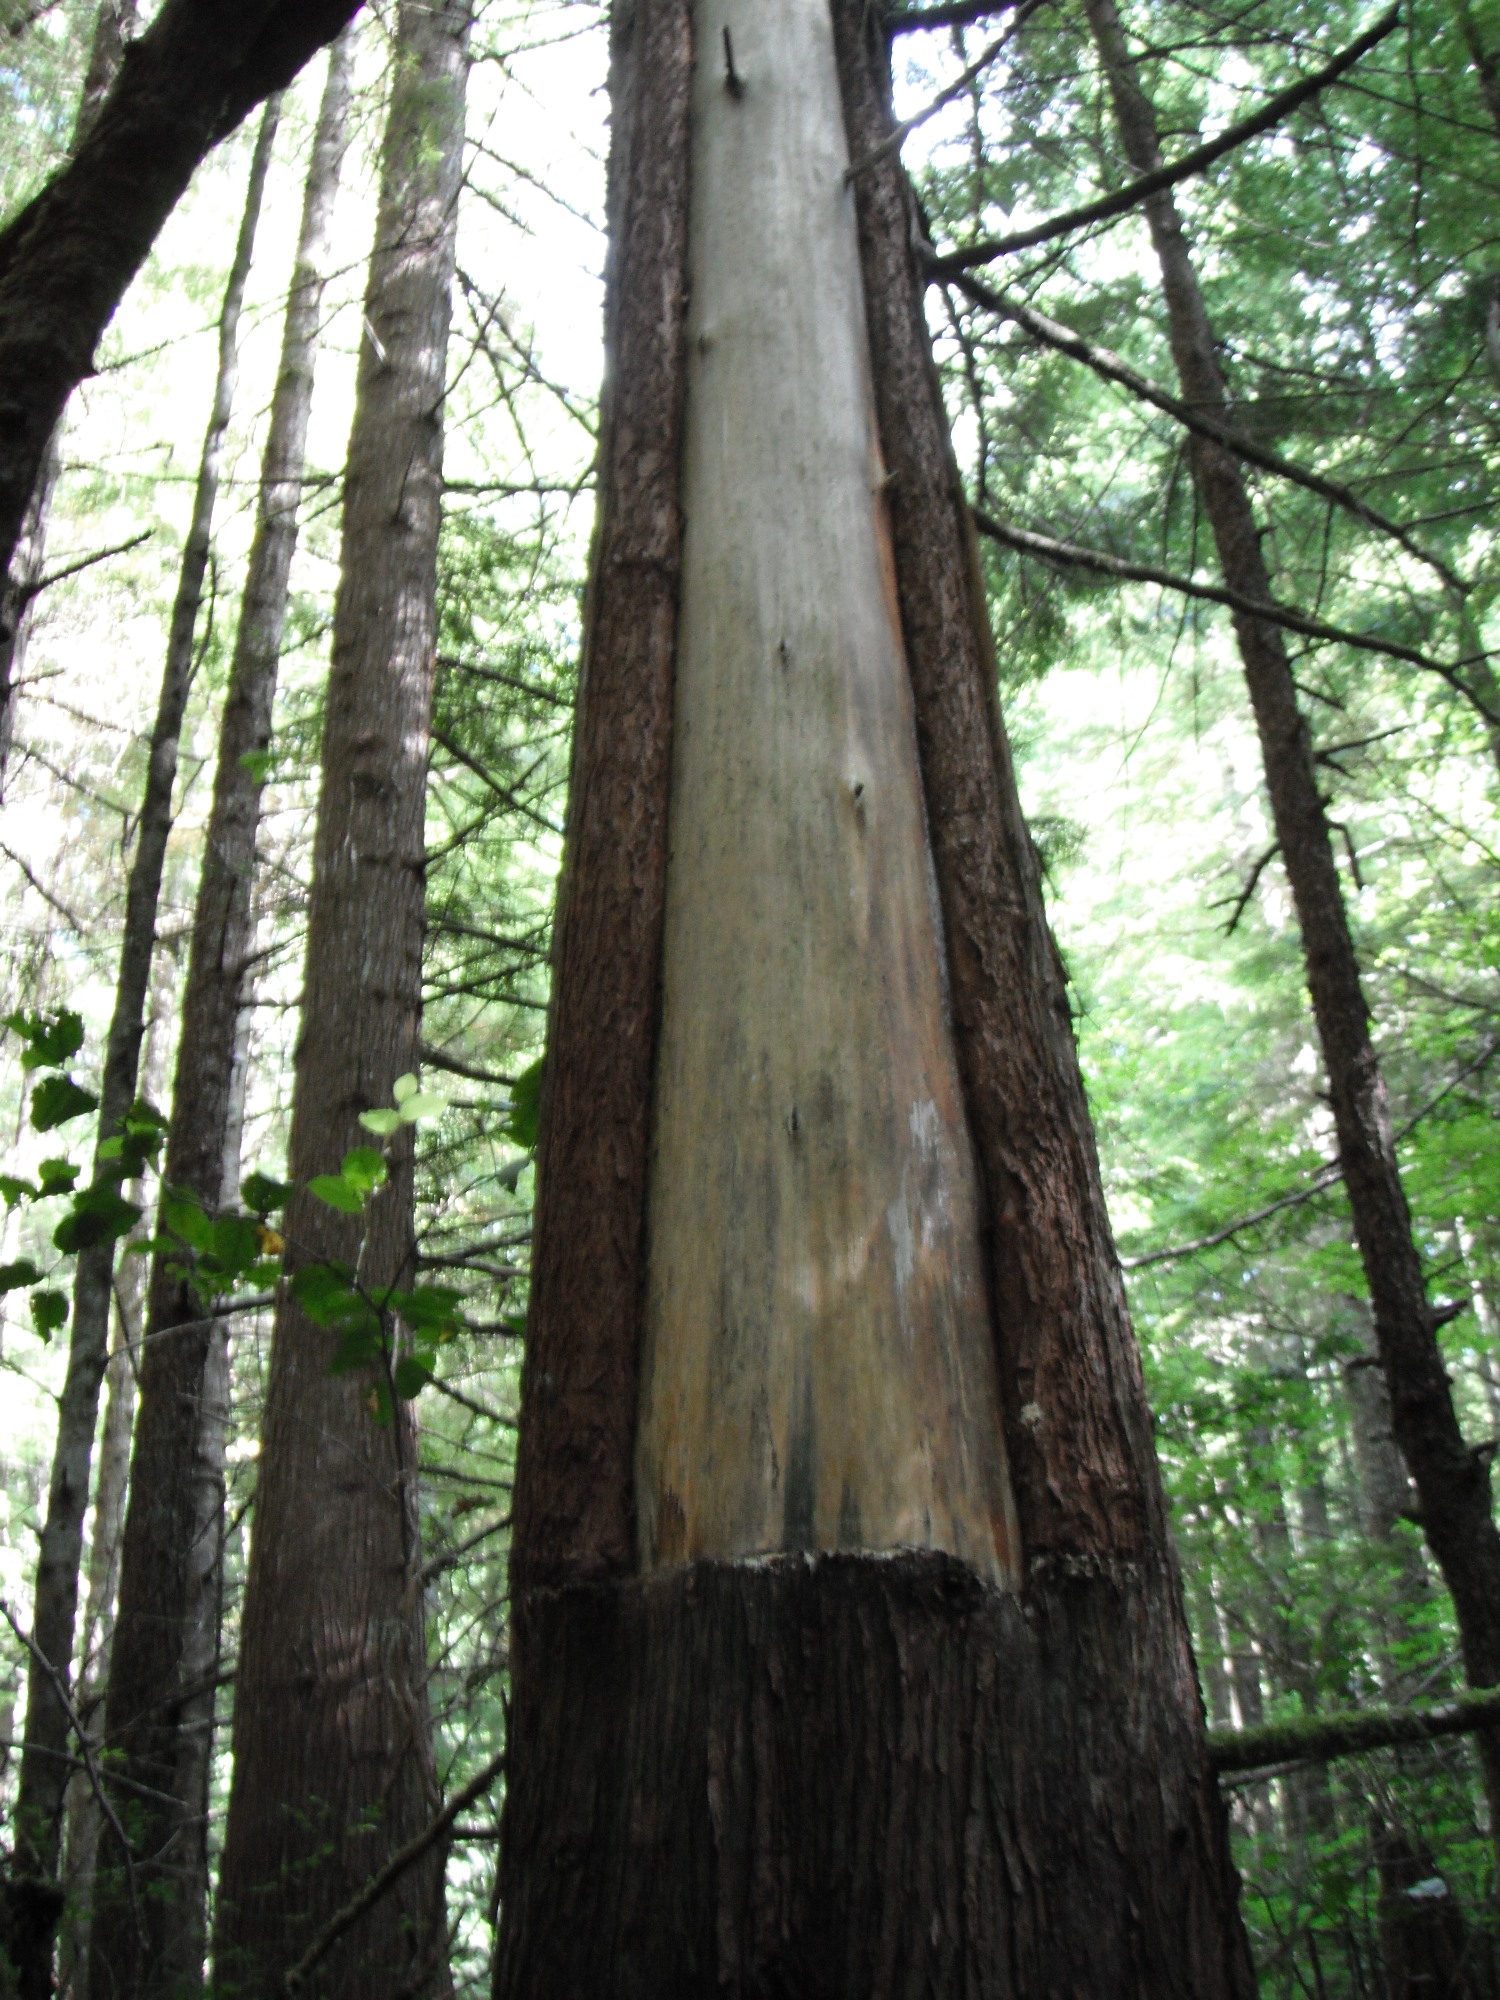
Damage caused by a lightening strike on Douglas Fir.
Habitat: Douglas Firs grow in moist to extremely dry sites. In ecological terms they are considered both early-successional (they are one of the first trees to colonize an area after a disturbance) and late-successional (they often occur in old-growth forests, just because they live so long– up to 1300 years!). Douglas Fir is a primary component of moist forests in the Western Hemlock ecological zone. Infrequent, widespread, stand-replacing fires, (usually caused by lightening strikes) naturally occur at perhaps 400- to 500-year intervals.
Wetland designation: FACU, Facultative upland, it usually occurs in non-wetland but is occasionally found in wetlands.
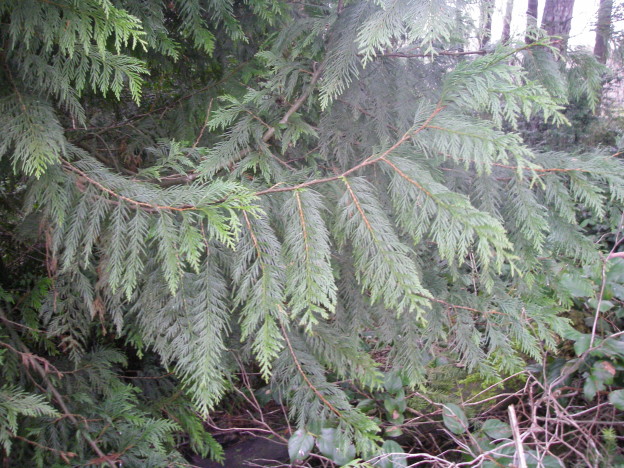
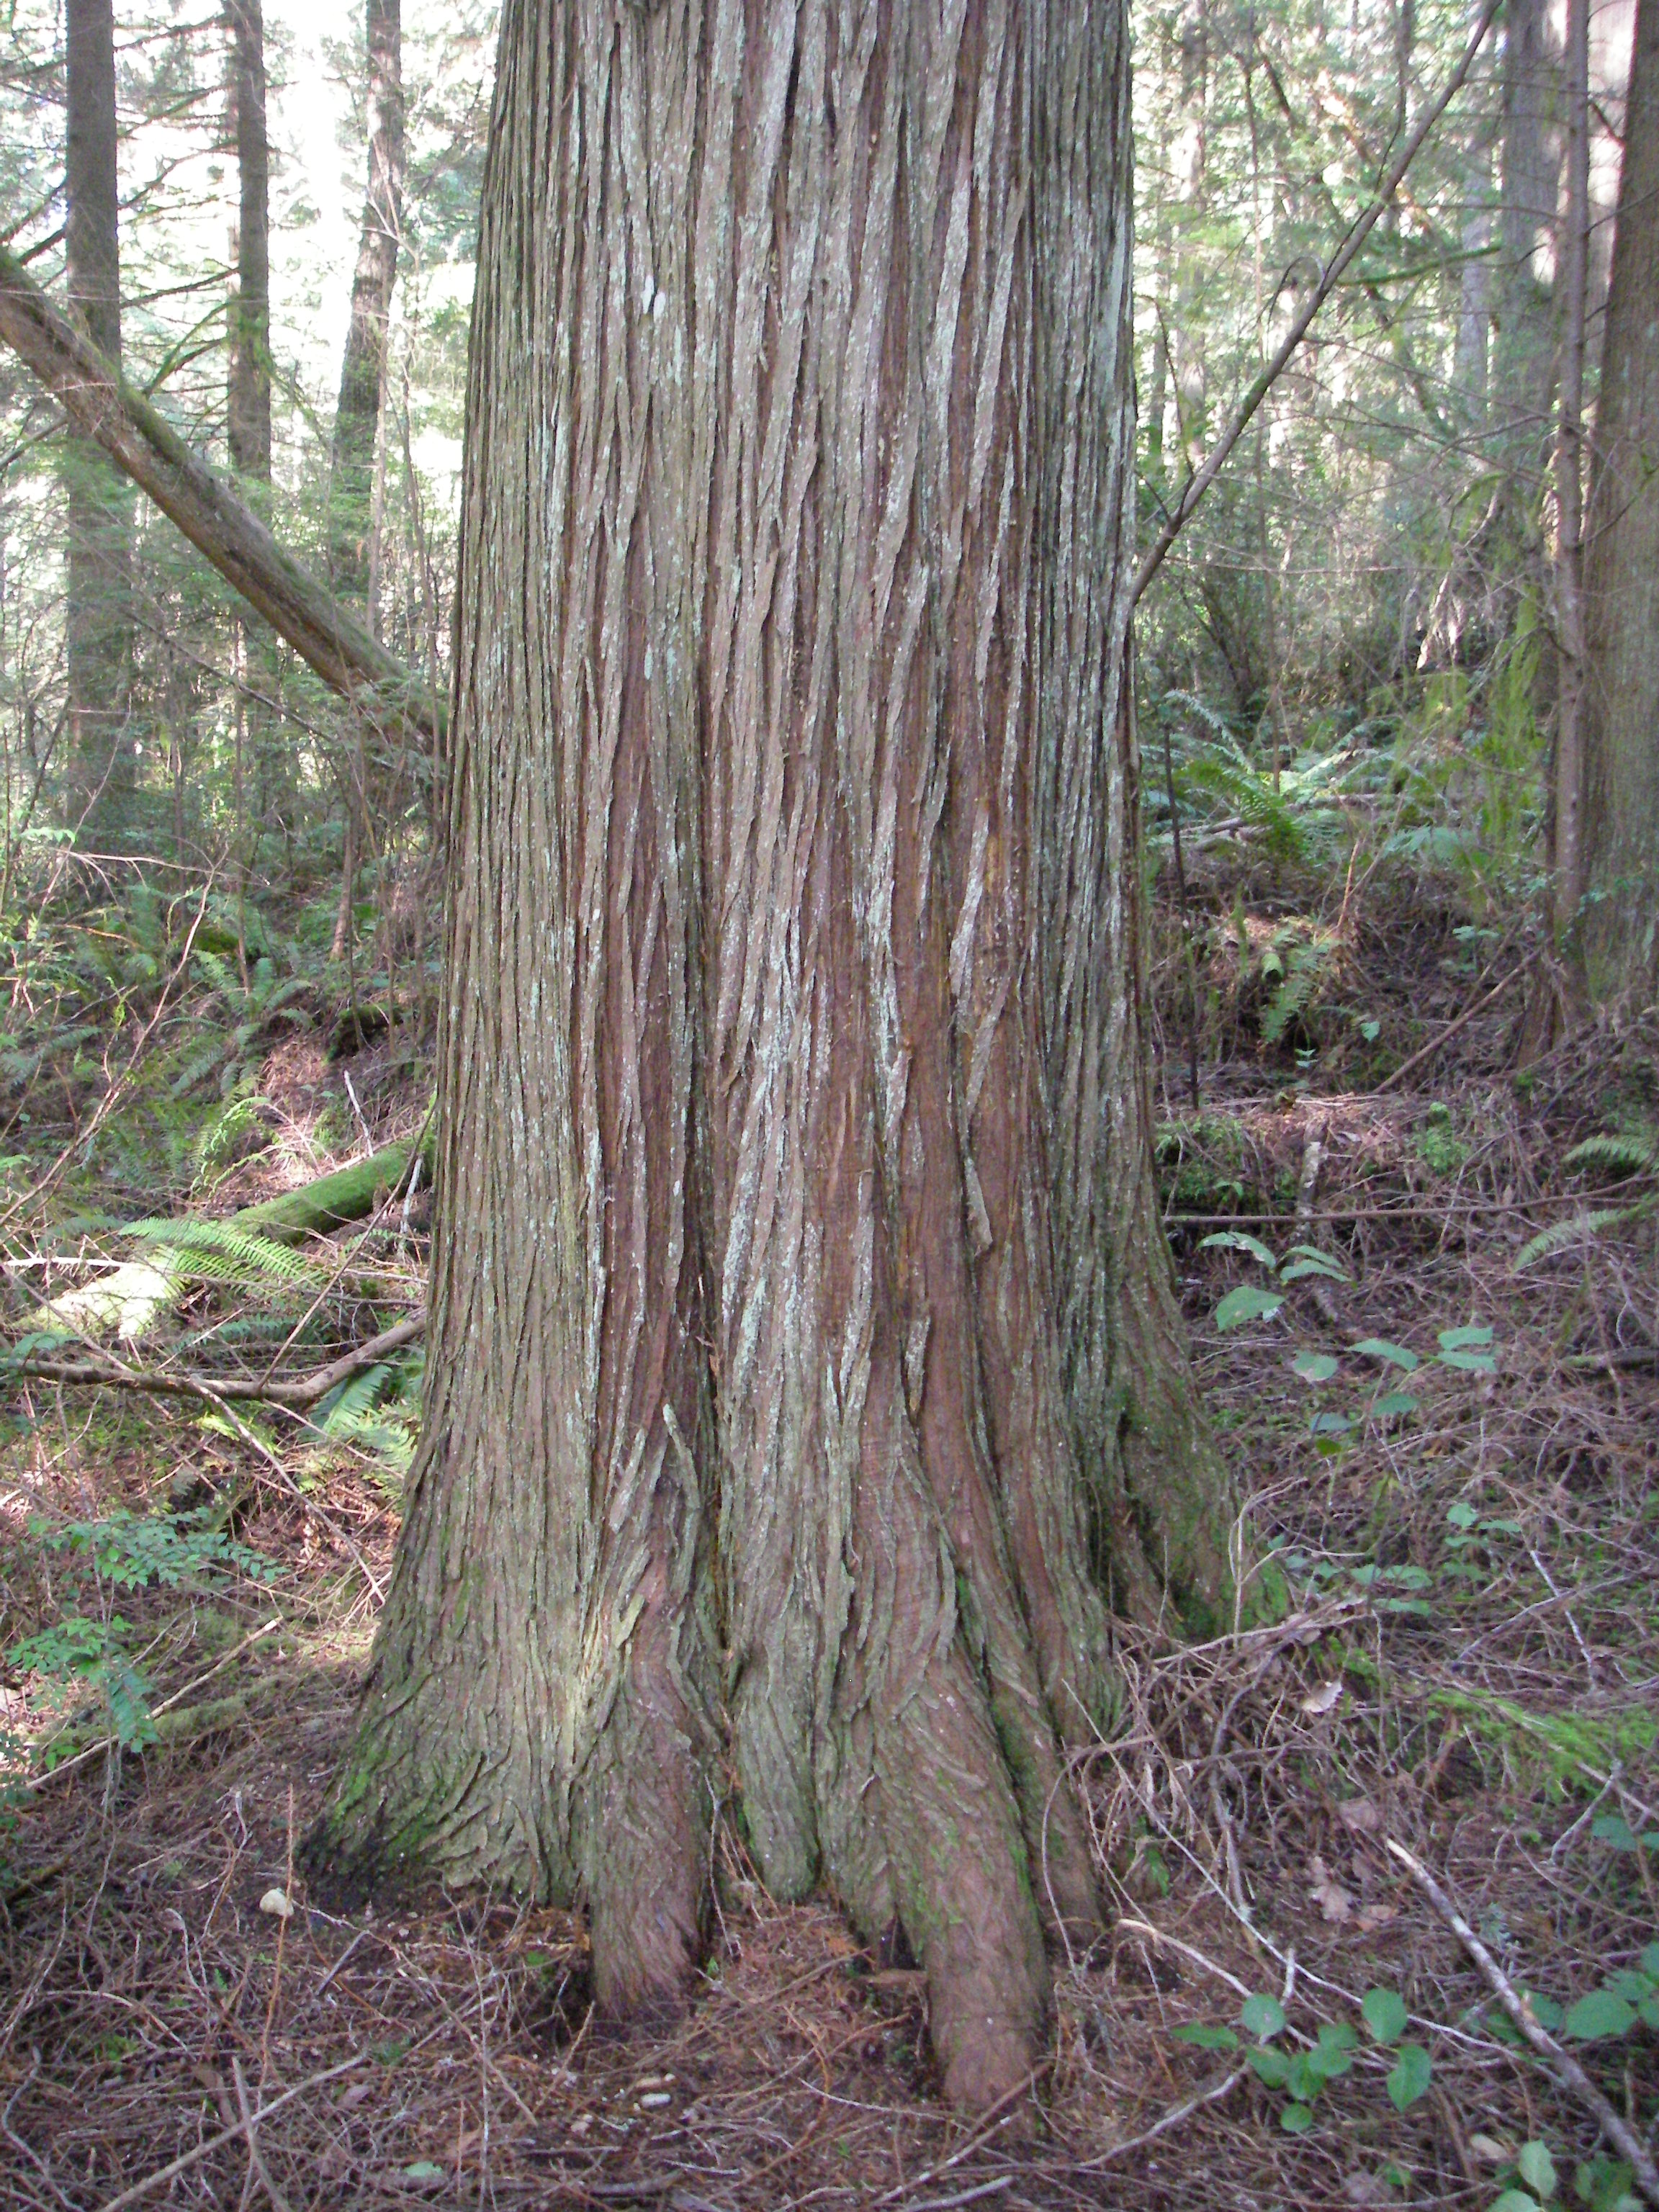
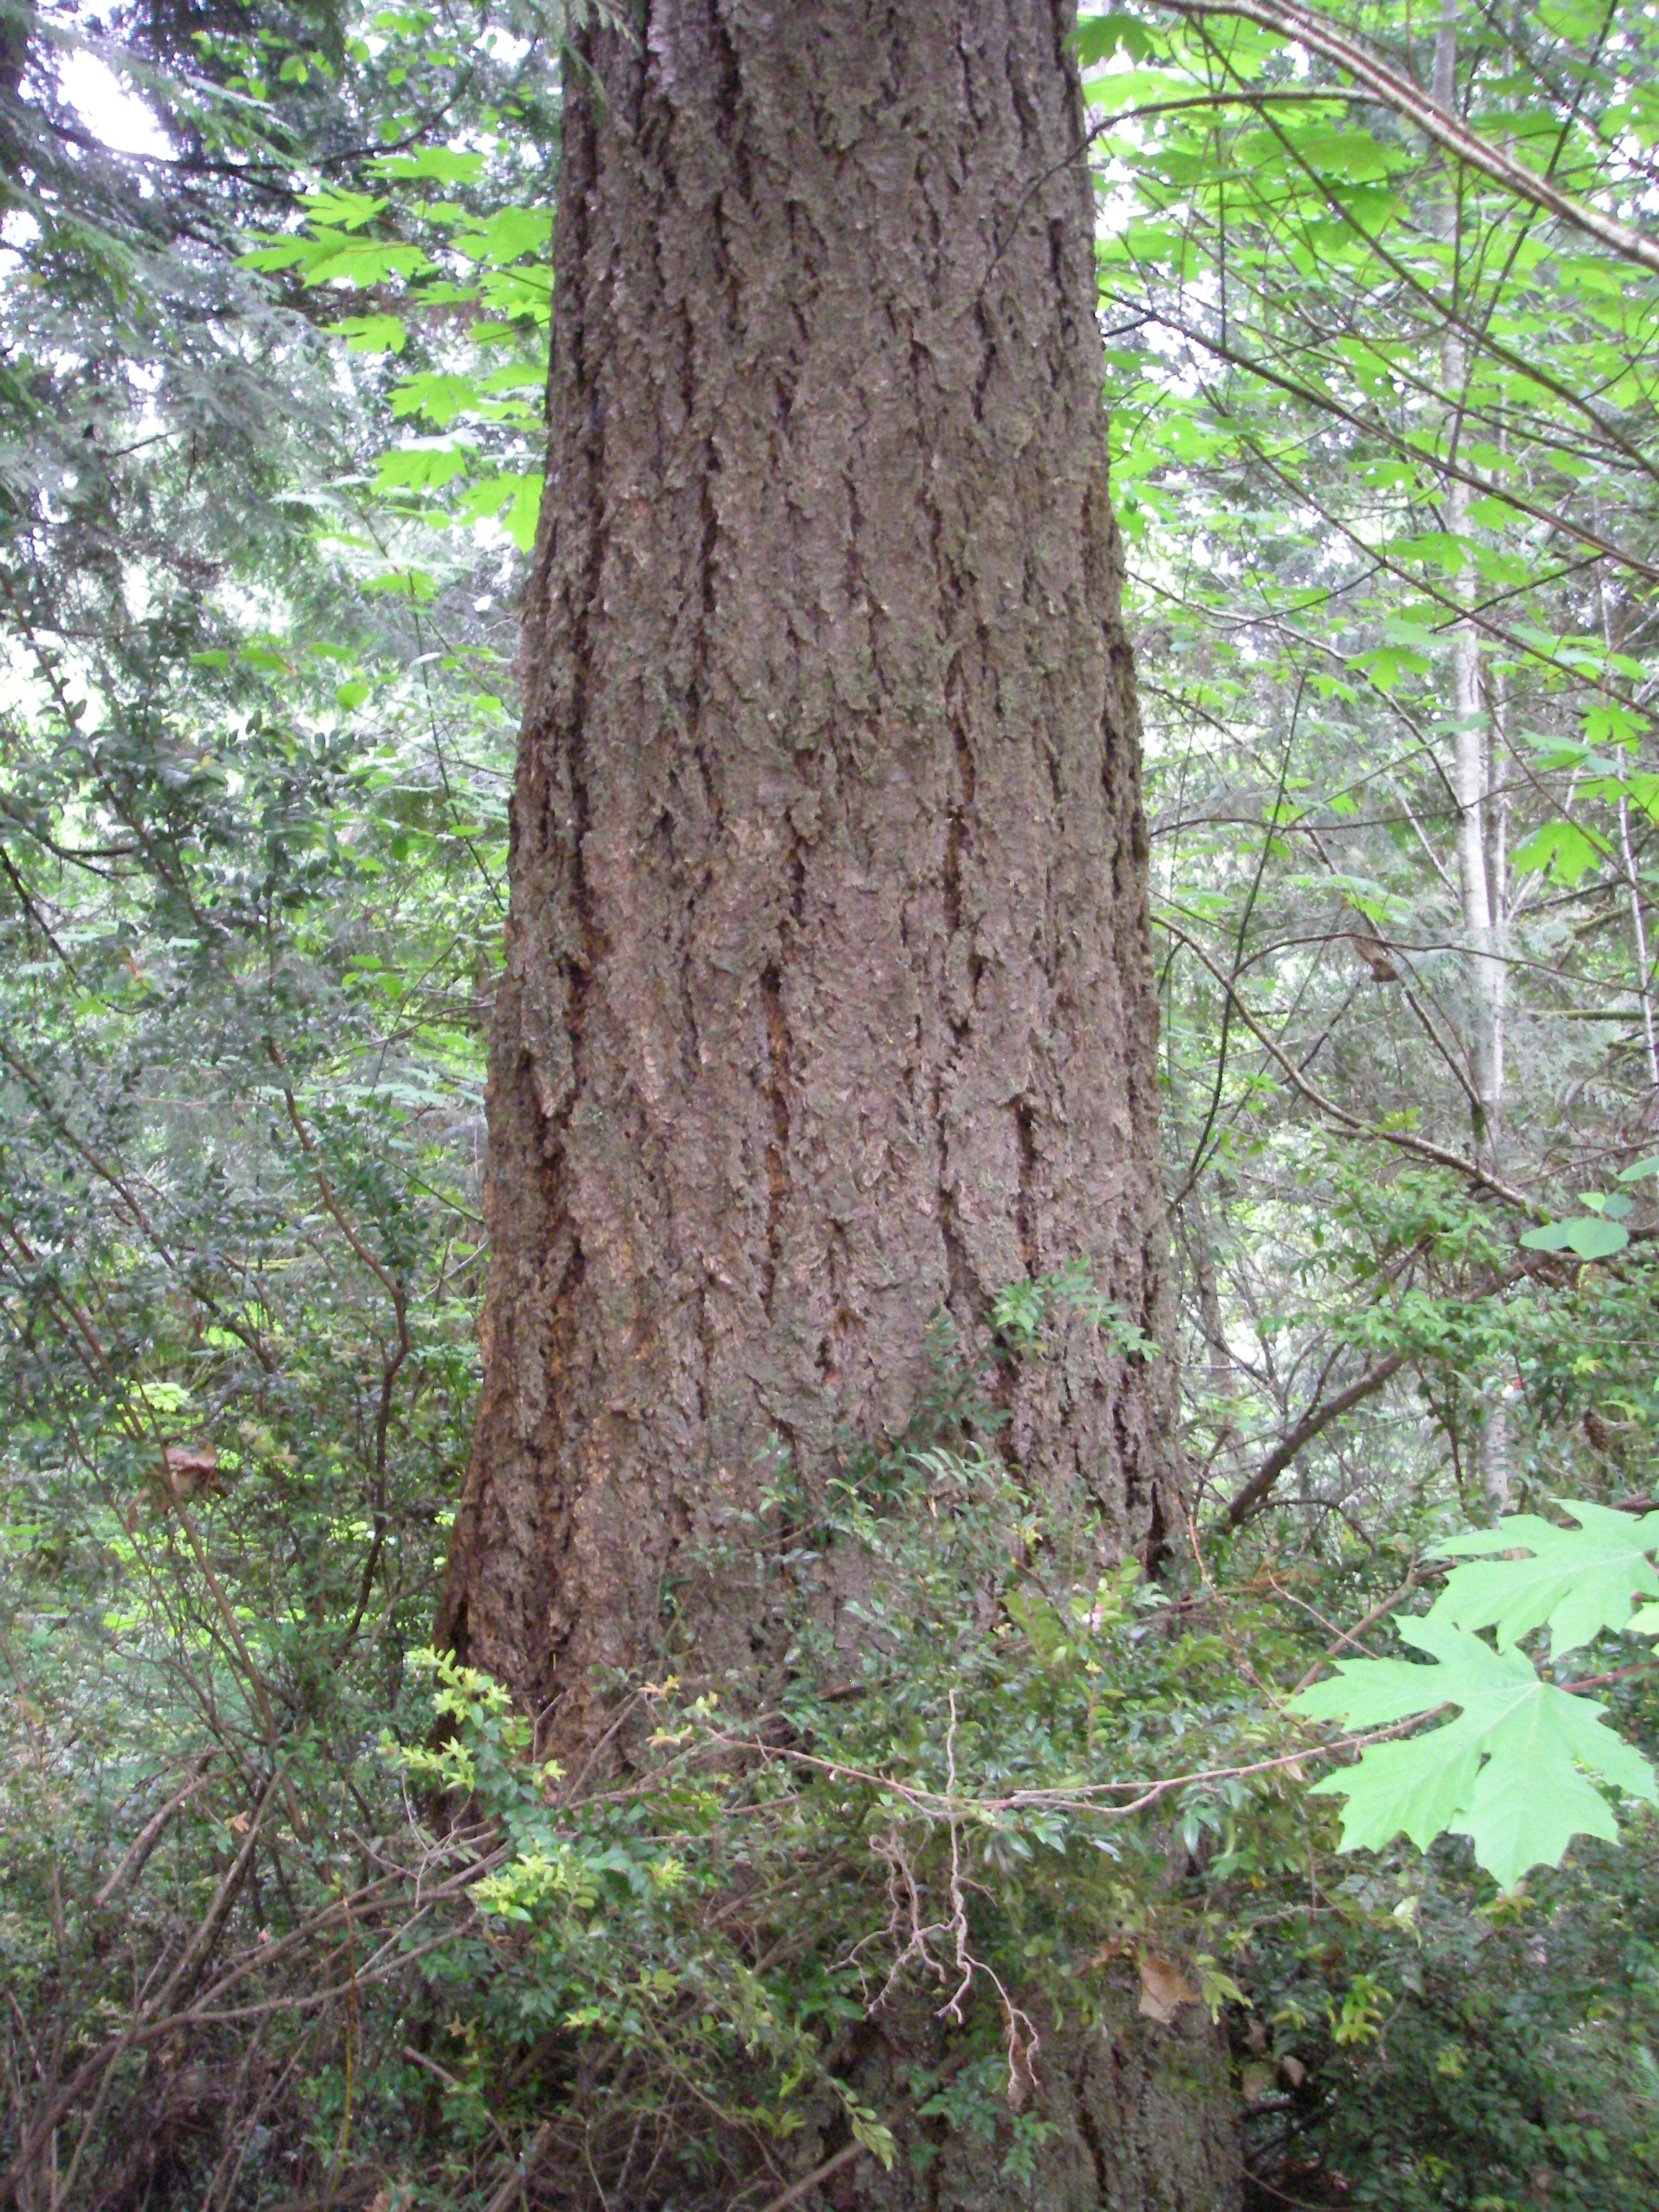
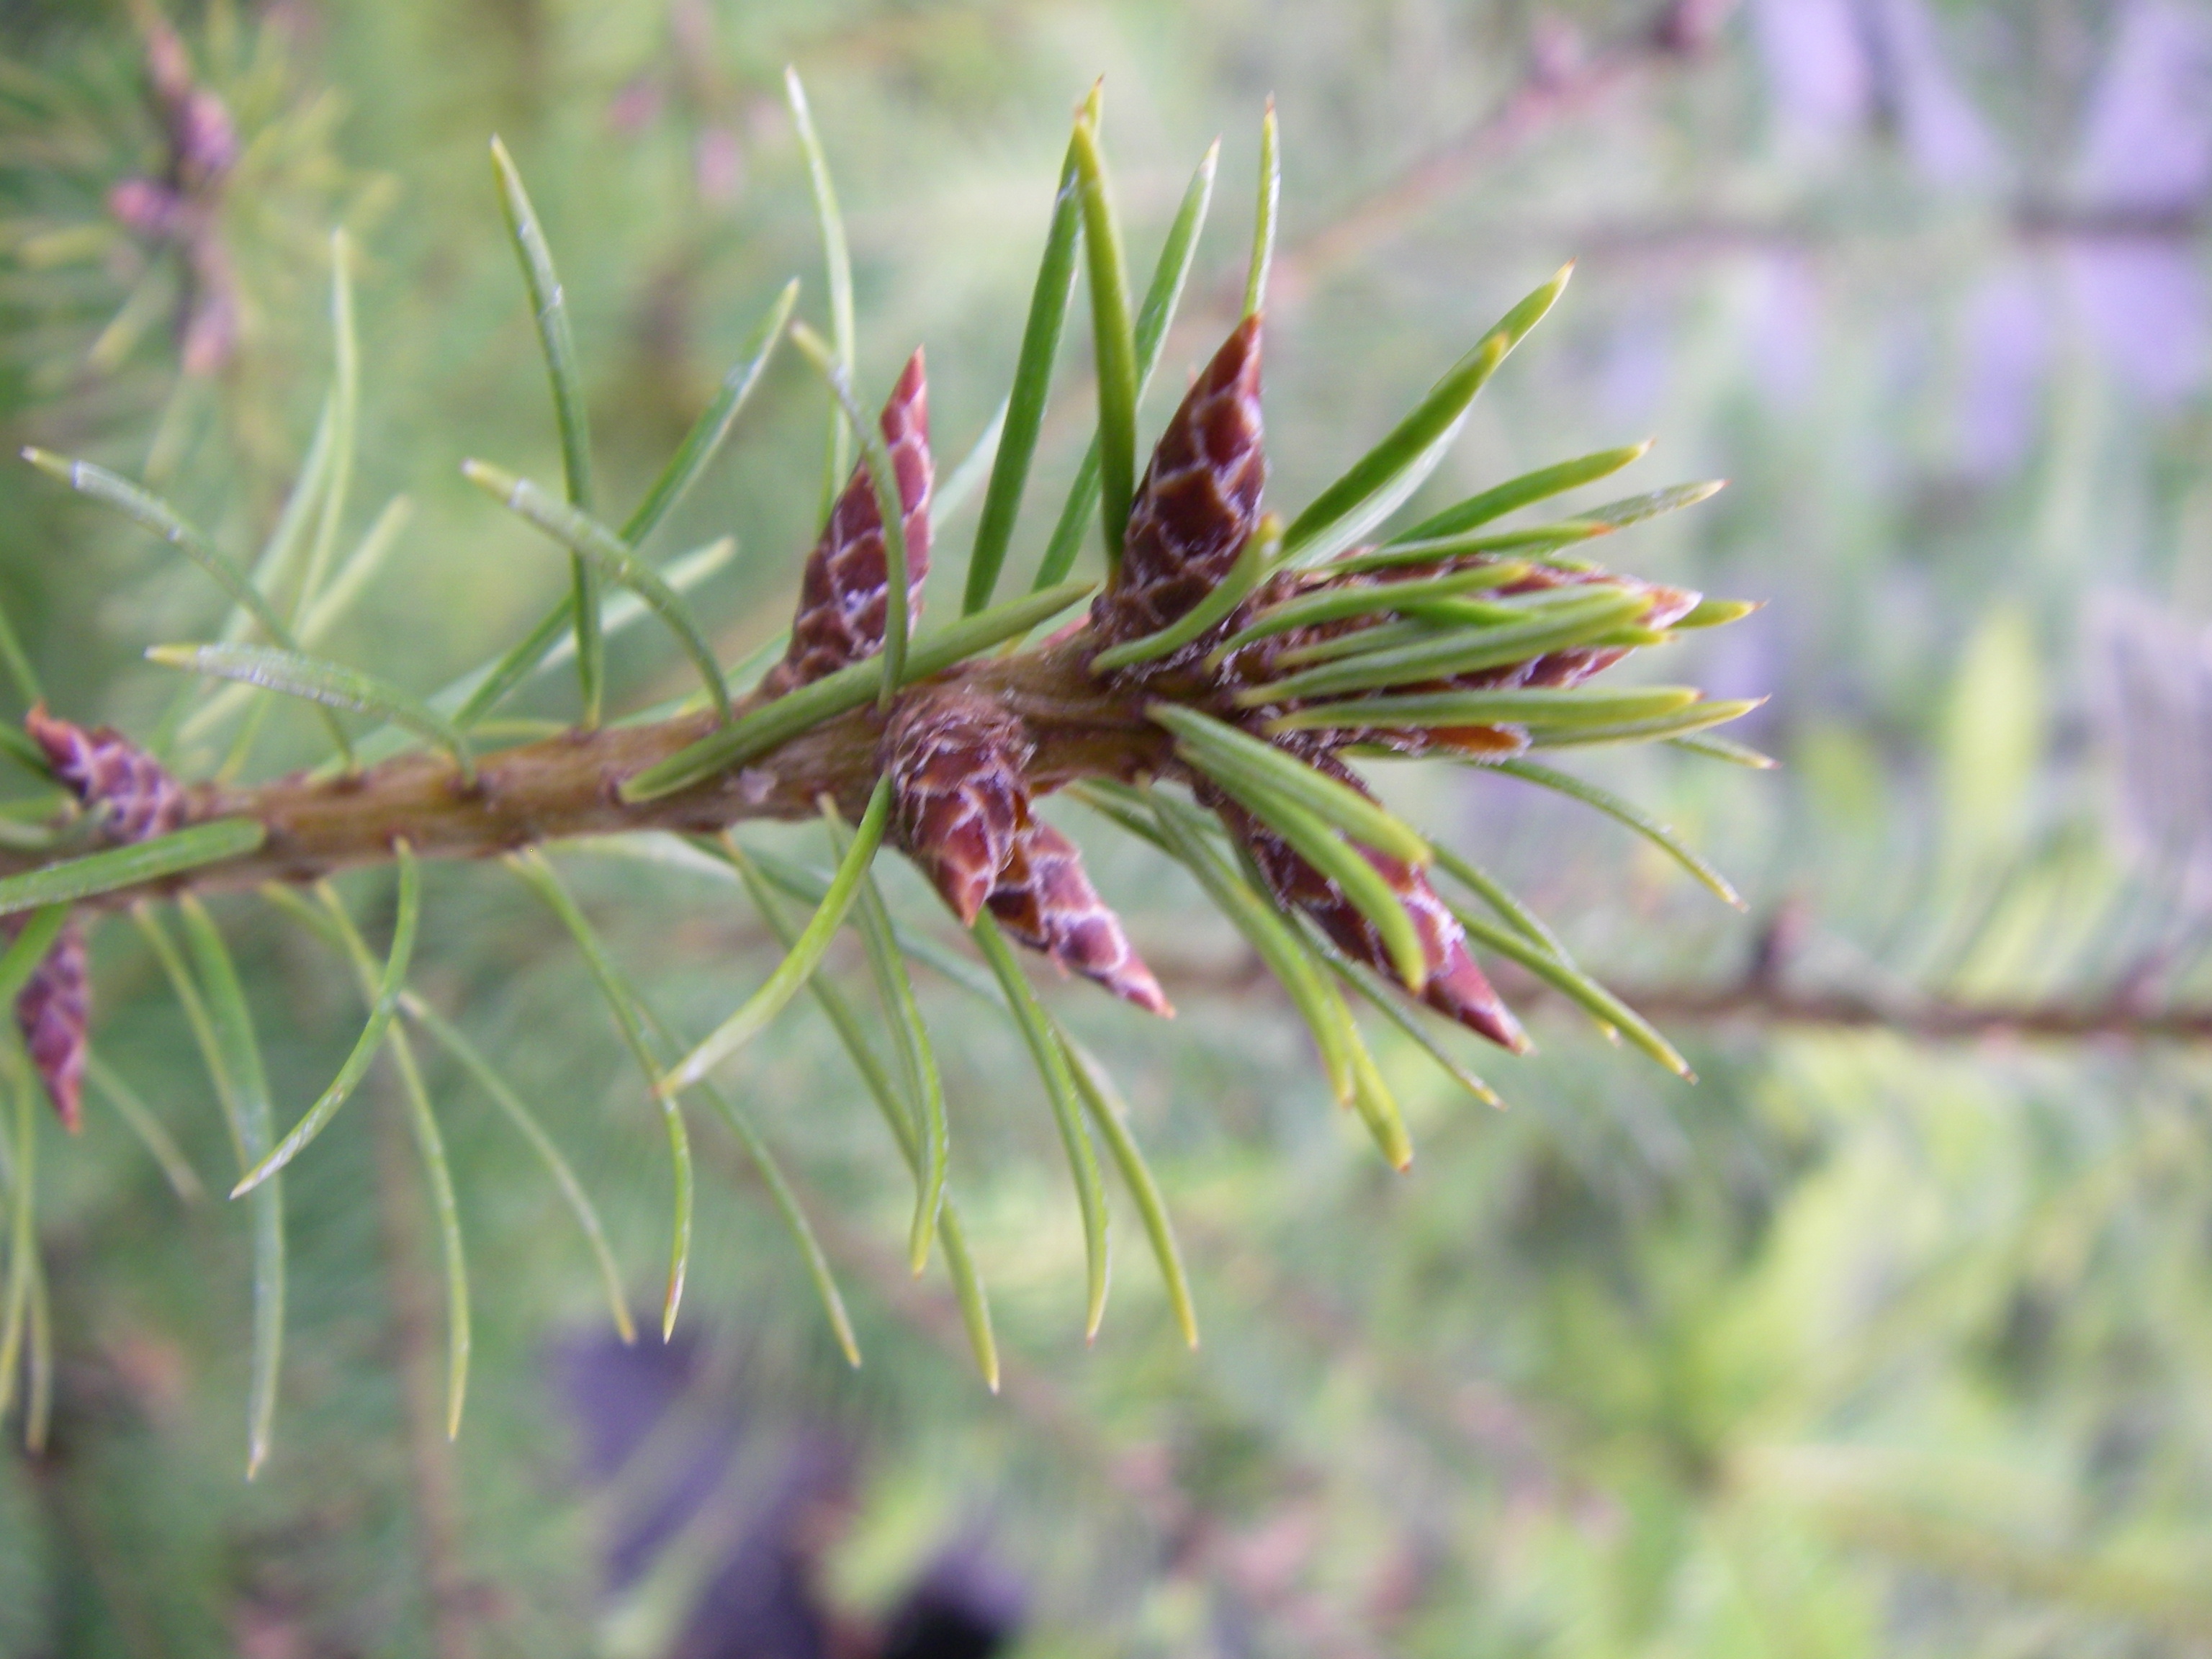
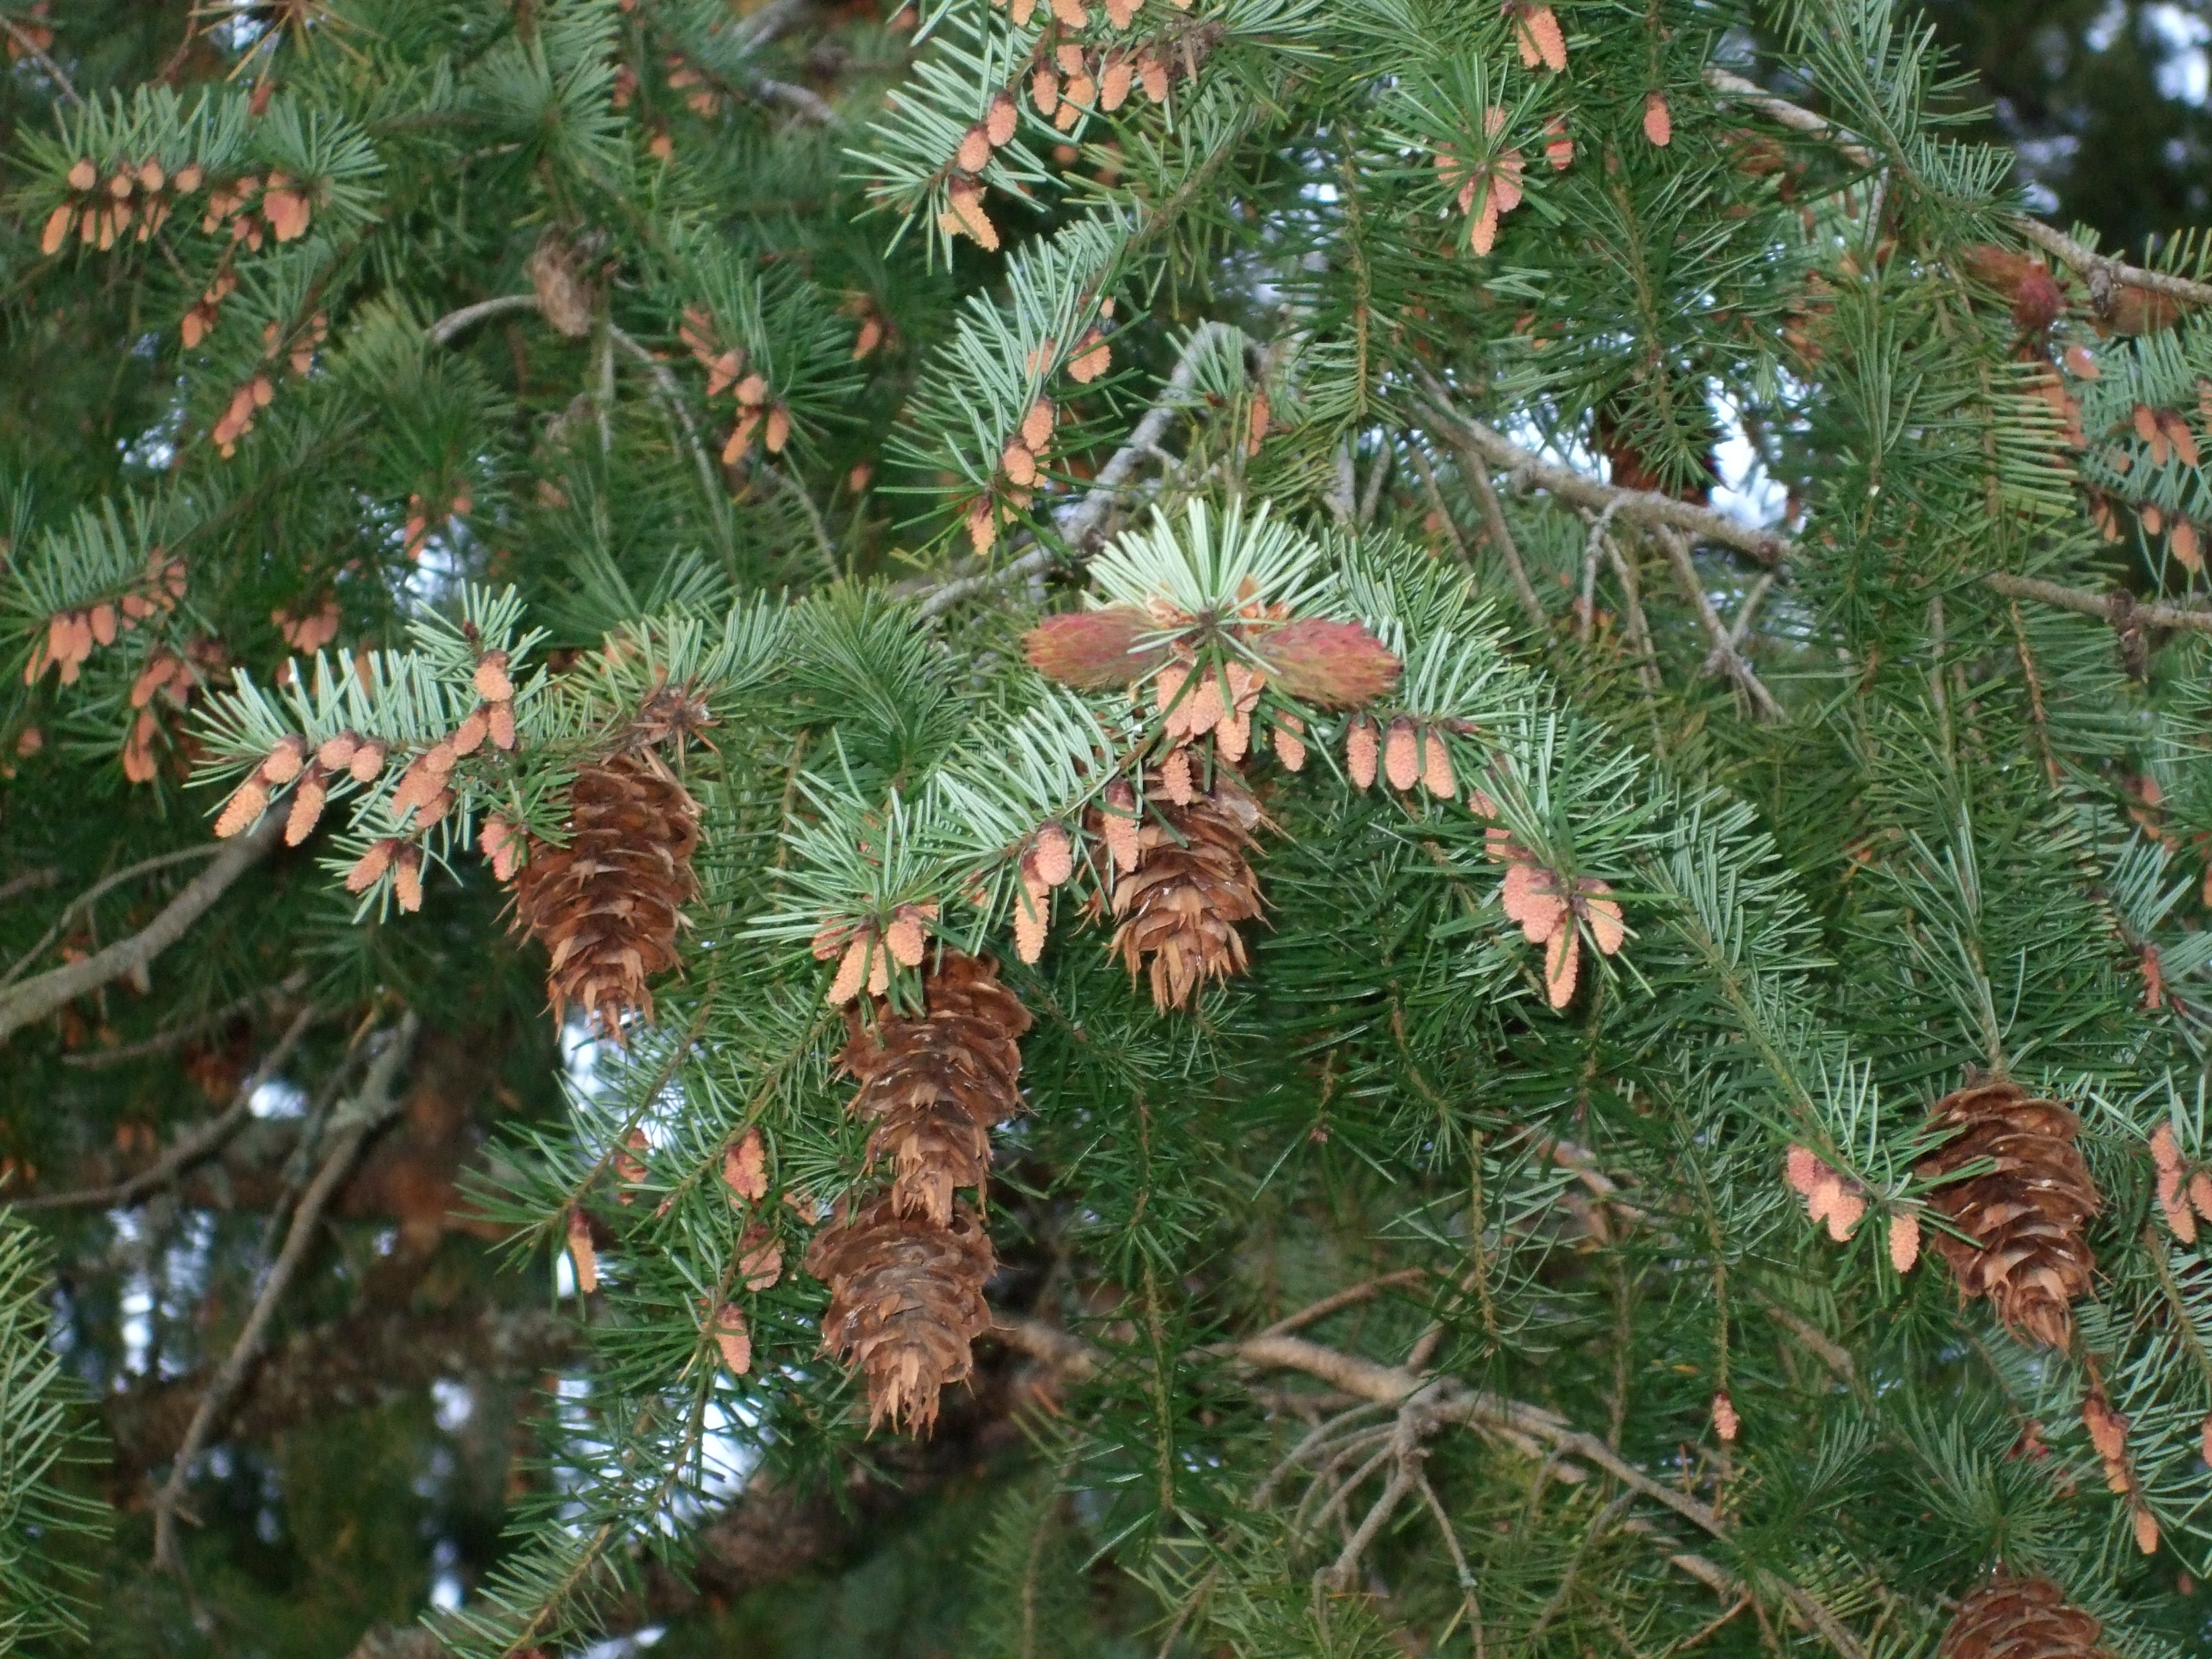
Diagnostic Characters: Douglas firs are easy to recognize by their “groovy” bark, pointed buds, and cones with 3-pronged bracts. Young trunks or branches often have “resin blisters,” that are easily ruptured; this sticky pitch is very difficult to wash off your hands!

Groovy Bark of Douglas Fir

“Pointy” buds of Douglas Fir
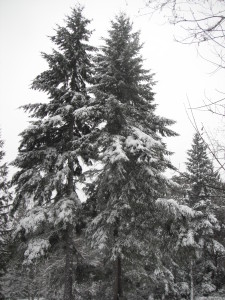
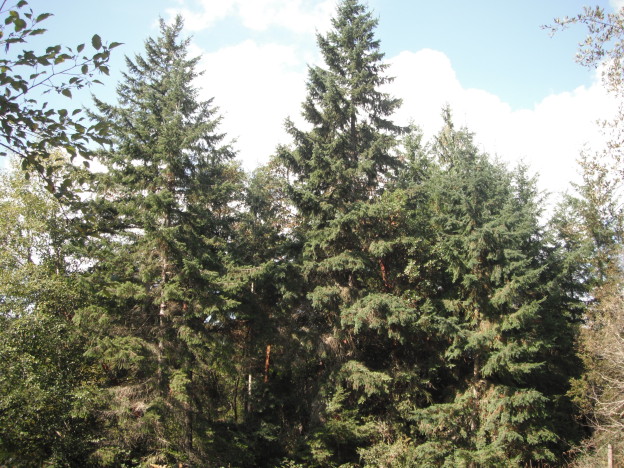
Douglas Fir in winter
In the landscape: Douglas fir is a majestic tree. It will grow in extremely dry to moist sites. When growing in a container, it is often spindly and not very attractive, but once it is planted in the ground, out in the open, it will quickly develop into the familiar, pyramidal Christmas tree shape. On the down side, it is often the bane of golf course and park workers after a windstorm. Because it is a fast growing tree, the new wood is relatively weak, and broken branches fall to the ground and must be picked up before grass can be mowed. For the same reason you may wish to avoid planting it next to buildings and other highly maintained areas such as courtyards and thoroughfares.
Douglas fir trees grow with a “central leader.” This is what forms the single trunk. As with most conifers, it is important never to “top” these trees. In young trees, it is possible to prune or train damaged or disfigured trees so that they have only one leader. Trees that are allowed to have more than one leader, besides being unsightly, will have a weak point where the two leaders emerged; creating a likely spot for a future break.
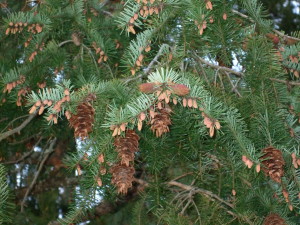
Male & female cones
Phenology: Bloom Period: March-June, earlier in southern coastal areas, later at high elevations, interior and northern stands. Cones mature in mid to late September, seeds are dispersed soon after.
Propagation: Seeds of Douglas Fir have about a 40% germination rate with a stratification period at 40ºF (4ºC) for 60 days. Seeds remain viable 1-2 years. Volunteers in the landscape may easily be transplanted.
Use by People: The Douglas fir is the most important timber tree in the United States. It is used for dimensional lumber, plywood and many other building materials as well as paper products. It was mostly used for firewood by native peoples but the wood was also used for tools such as spear and harpoon shafts. Today it is still commonly used for firewood and is well known as a popular Christmas tree.–See Selecting a Christmas Tree on my sister website, habitathorticulturepnw.com !
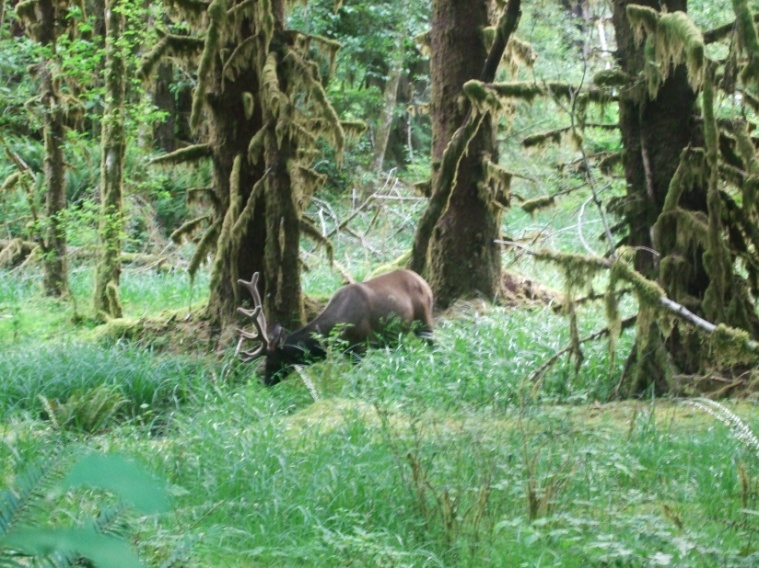
Use by Wildlife: Douglas Squirrels and other rodents eat the small, winged seeds found inside Douglas Fir cones. Pine Siskins and Crossbills and other birds also eat the seeds. Browsers, such as White-tailed Deer will eat the foliage and twigs in the winter. The needles and male cones are an important winter food for Blue Grouse
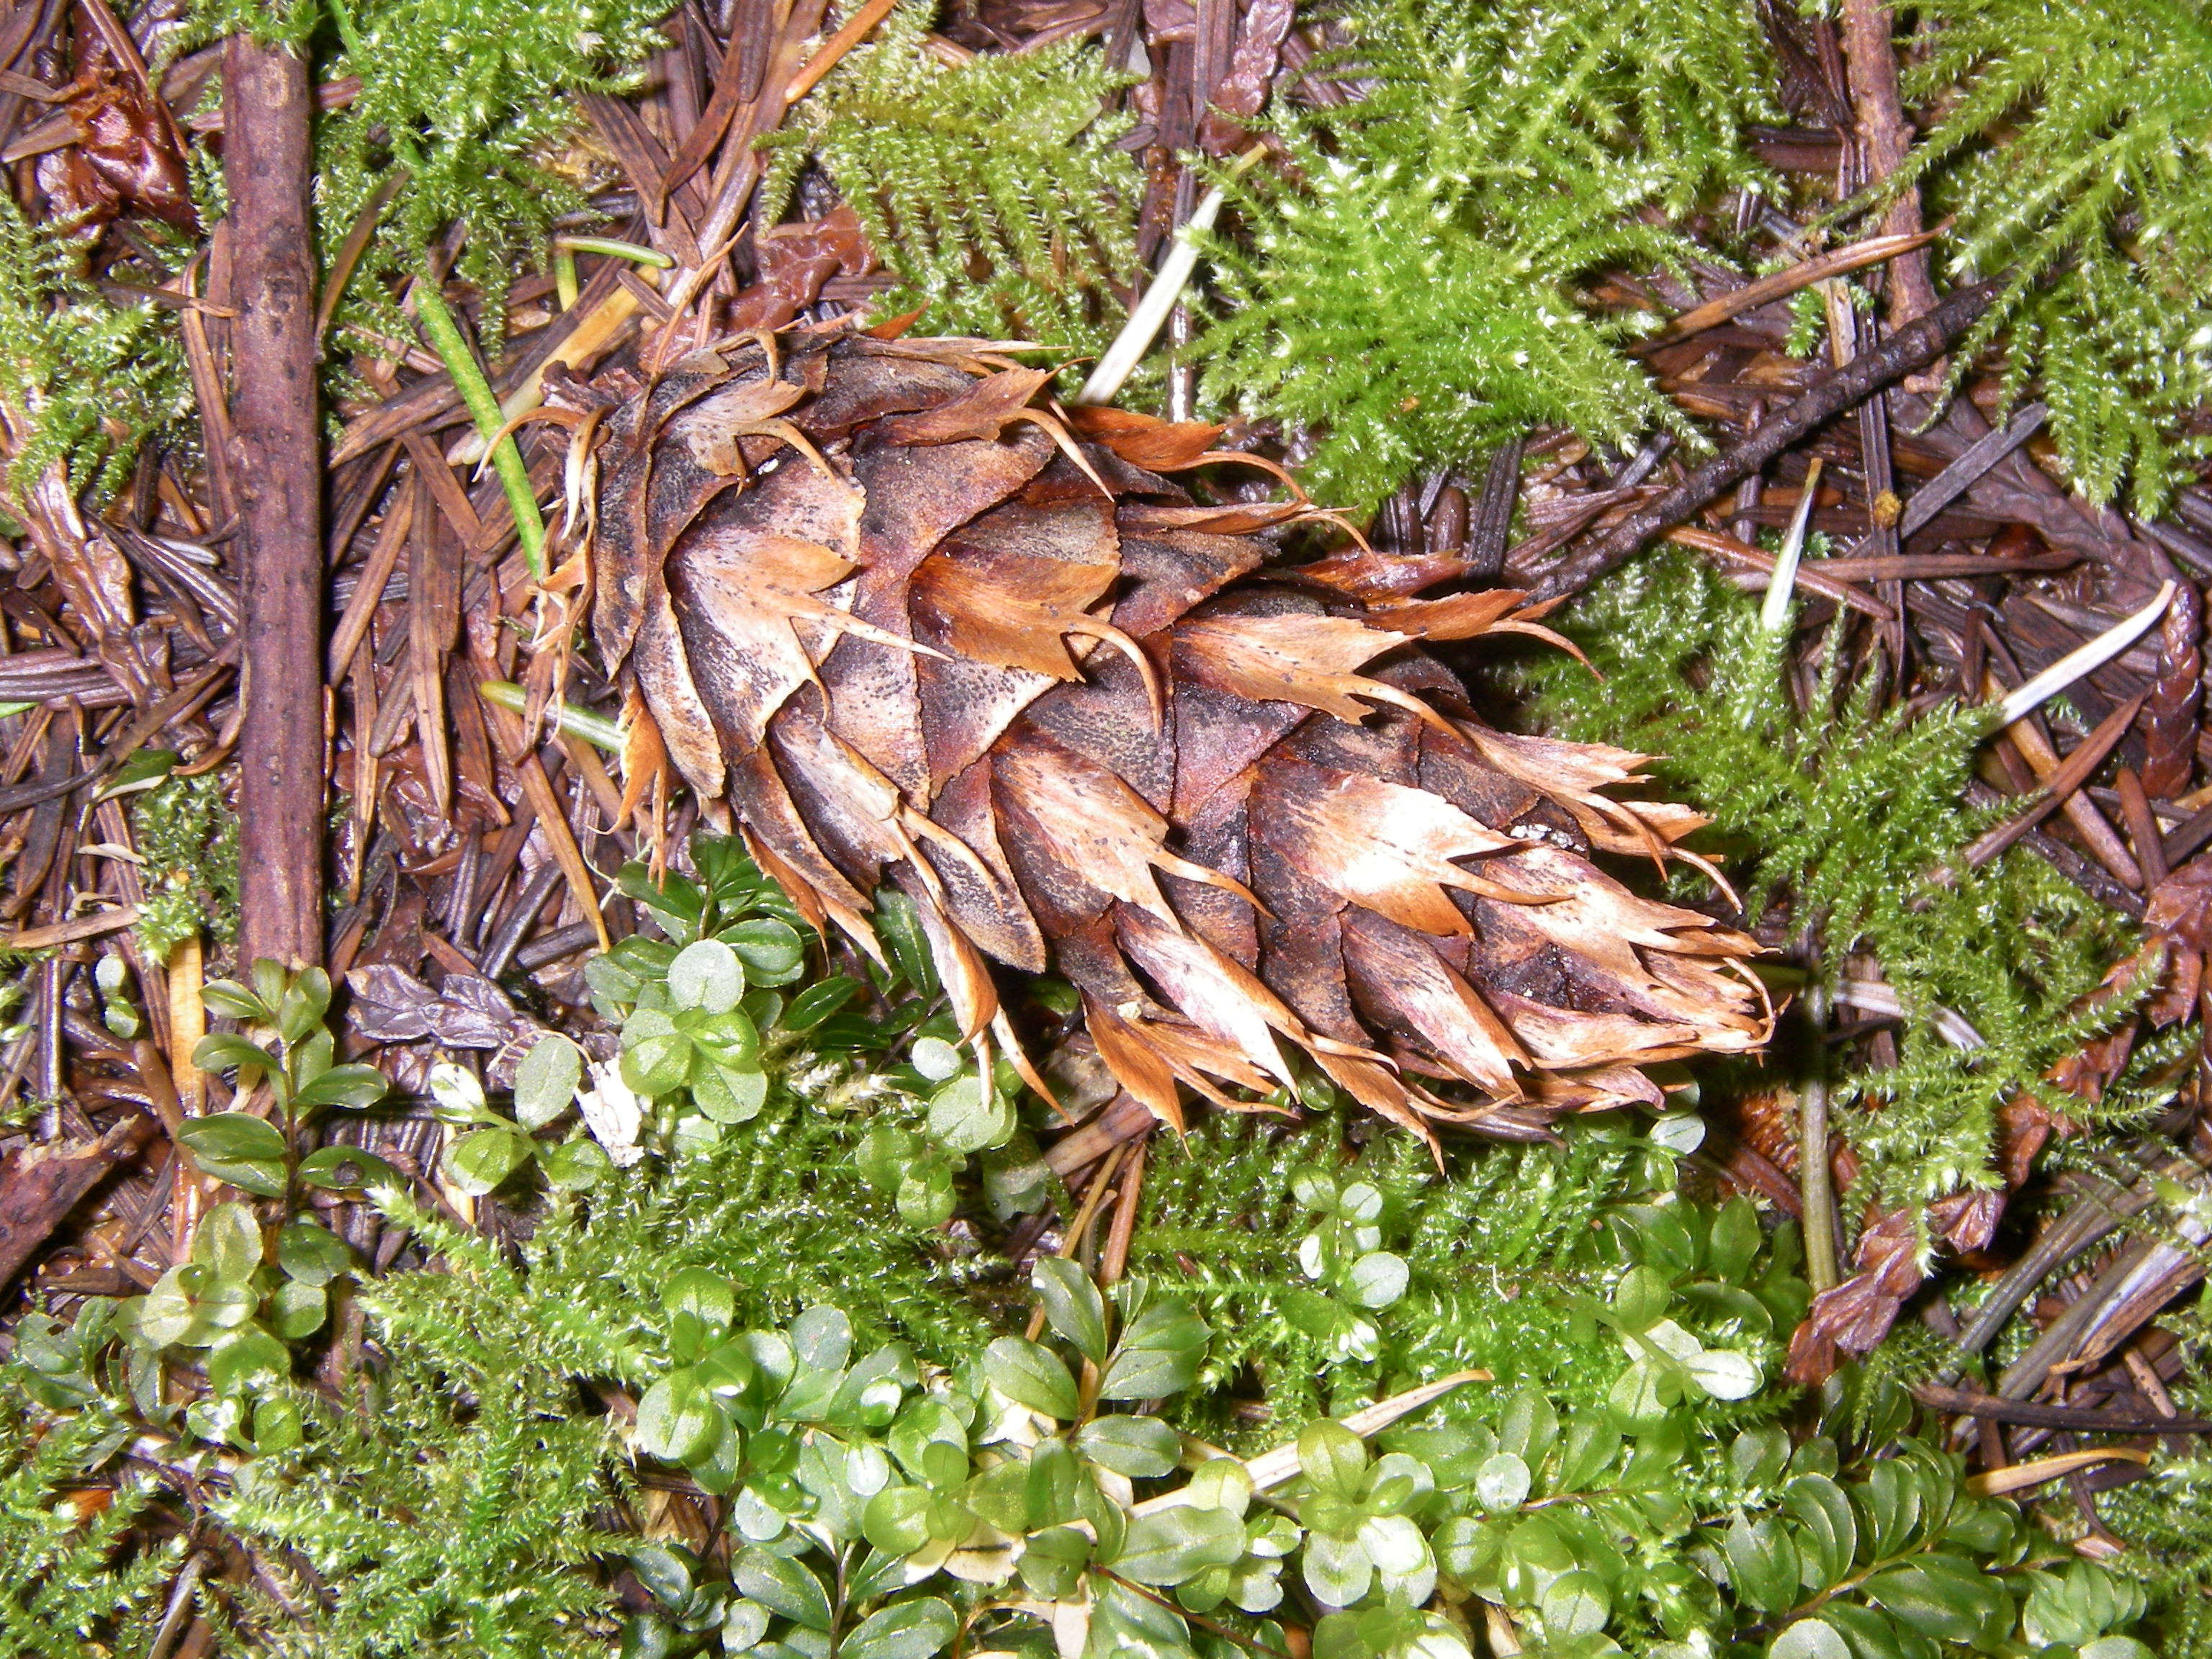
The Mouse and the Douglas Fir

Douglas Fir cone with 3-pronged bracts
There are two versions of a Native American Myth relating the story of a frightened mouse looking for someplace to hide. In one version the mouse is trying to evade a fox, in the other the mouse is trying to escape a forest fire. In both versions, the mouse tries to hide in a Douglas Fir cone. The mouse was successful in evading the danger in both stories. To this day, when you look closely at a Douglas Fir cone, the mouse’s back legs and tail are still visible beneath the cone’s scales!
Links:
USDA Plants Database
Natural Resources Canada
Gymnosperm Database
Consortium of Pacific Northwest Herbaria
WTU Herbarium Image Collection, Plants of Washington, Burke Museum
E-Flora BC, Electronic Atlas of the Flora of British Columbia
Jepson Eflora, University of California
Calphotos
Ladybird Johnson Wildflower Center
USDA Forest Service-Fire Effects Information System
Silvics of North America
Virginia Tech ID Fact Sheet + Landowner Fact Sheet
Native Plants Network, Propagation Protocol Database
Plants for a Future Database
Native American Ethnobotany, University of Michigan, Dearborn
National Register of Big Trees
Tallest Douglas Firs, Historical accounts